

Today we will teach you how to Connect the server (WHM) to WHMCS with this simple step by step tutorial for AtresHost Reseller services.
Connecting the Server to WHMCS
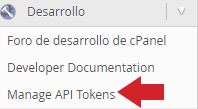
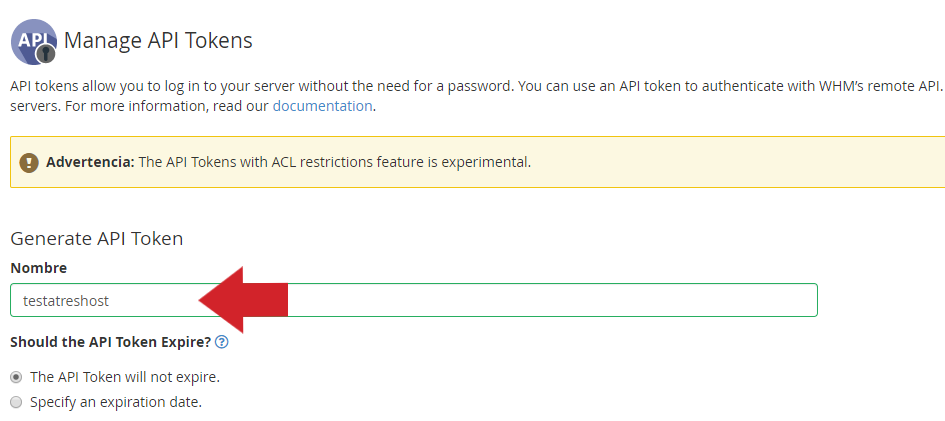
The first step in connecting the server and WHMCS is to create a API TOKEN in WHM. Access WHM and from the “Development” module, click on “Manage Api Tokens”.
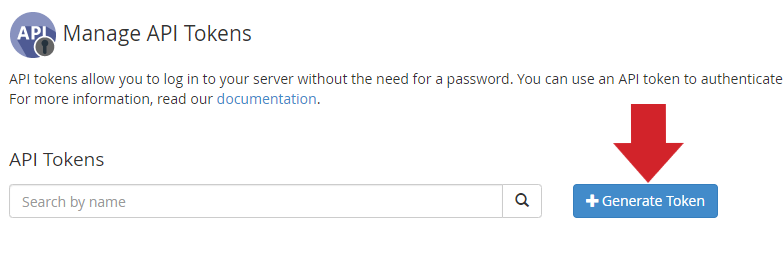
Then click on “+Generate Token”.
Enter a name for the API and without touching anything else, scroll down to the bottom of the page and click “Save”.
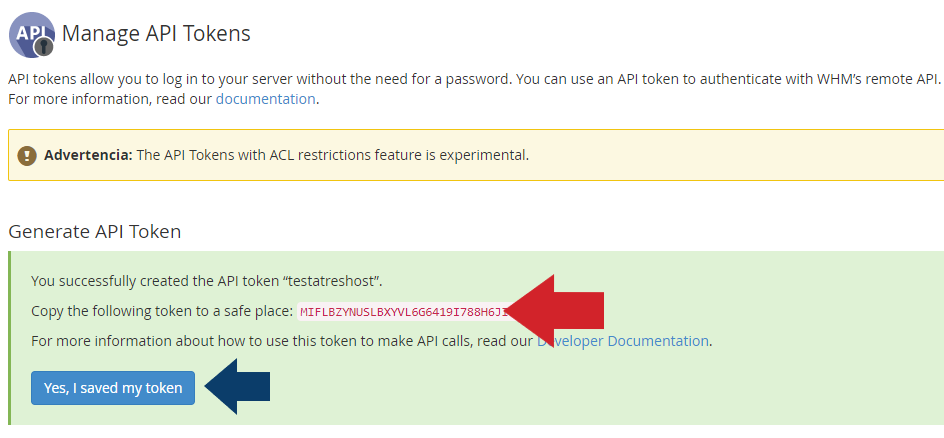
Finally, copy the generated token and click “Yes, I saved my token”.
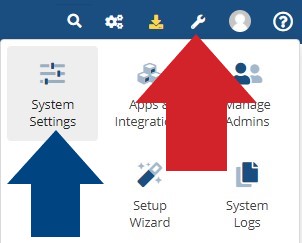
With the token already generated, we enter our WHMCS administration panel and from the menu, go to TOOL ICON > SYSTEM SETTINGS.
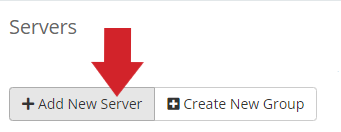
Under “System Settings”, click on “Servers”.

Once you’re on the servers page, click “+ADD NEW SERVER”.
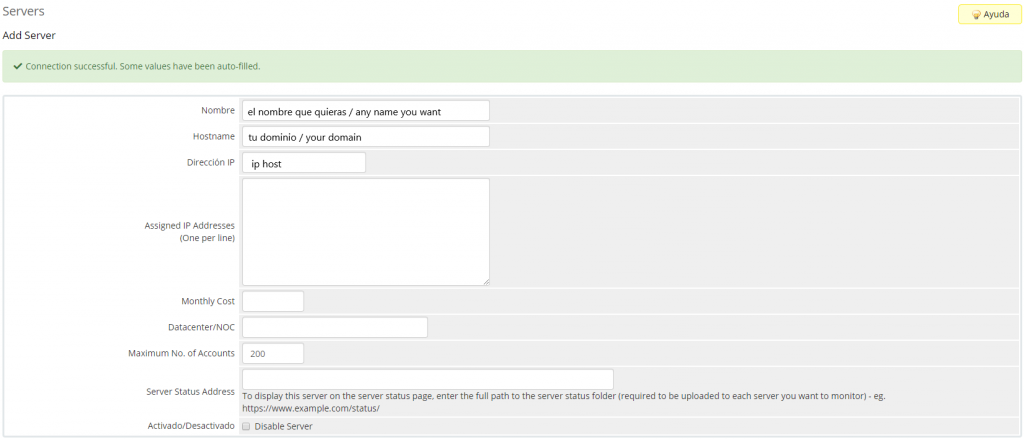
Configure the data as follows and click “TEST CONNECTION”.

- MODULE: cPanel
- HOSTNAME OR IP ADDRESS: your domain
- USER: the user with whom you access WHM/CPANEL
- PASSWORD: the password with which you access WHM/CPANEL
- API TOKEN: the token you have generated in WHM (if you don’t have one, access WHM and generate the api token from “MANAGE API TOKEN”)
If the data entered are correct, you will be taken to the next page, indicating that the connection has been made successfully.
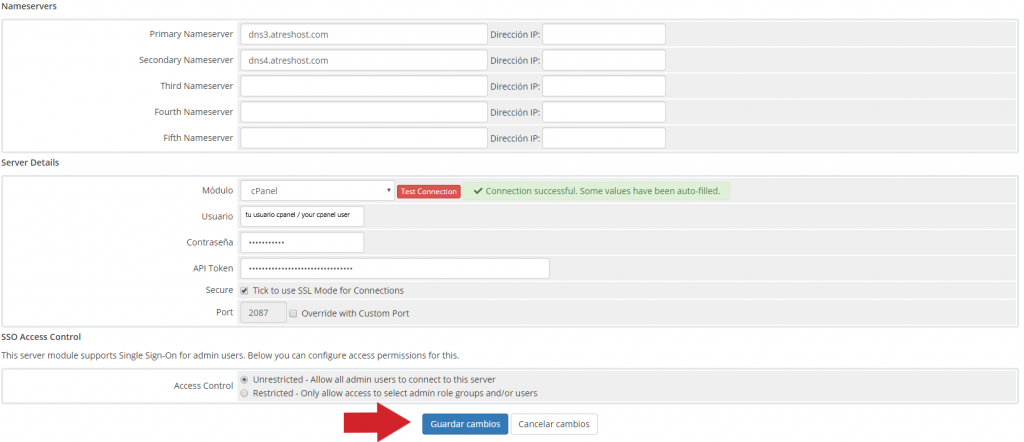
Finally, fill in the NAMESERVERS data and click on “SAVE CHANGES” to have the server connected to WHMCS.
And here ends the general guide on how to Connect the server (WHM) to WHMCS.