

Today we are going to teach you How to configure Hosting and Reseller email accounts in Microsoft Outlook with this simple step by step tutorial.
NOTE: The configuration is based on the latest available version of Microsoft Outlook as of May 2020.
Email account configuration
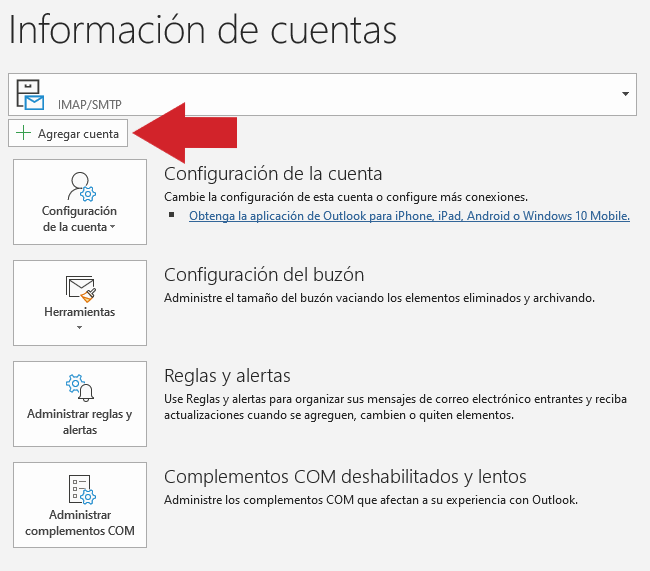
The first thing you have to do is open Microsoft Outlook. Once opened, click on “File” (top menu).

The “Account Information” menu will open. Click on “+ Add account”.
Enter the email address of your domain you want to configure (red arrow) and click “Connect” (blue arrow).

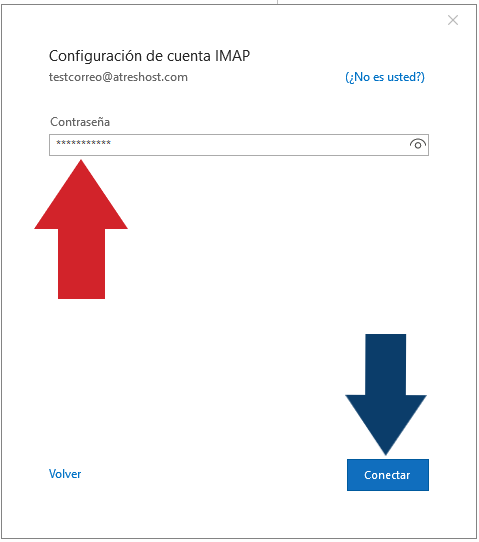
Enter the email account password (red arrow) and click on “Connect” (blue arrow).
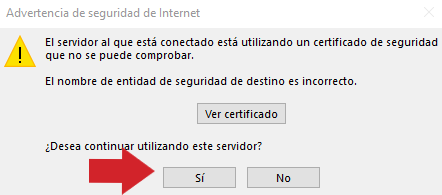
Accept the safety certificate by clicking “Yes”.
Finally, you will receive confirmation that the account has been added successfully. Click “Done” to finish the process.
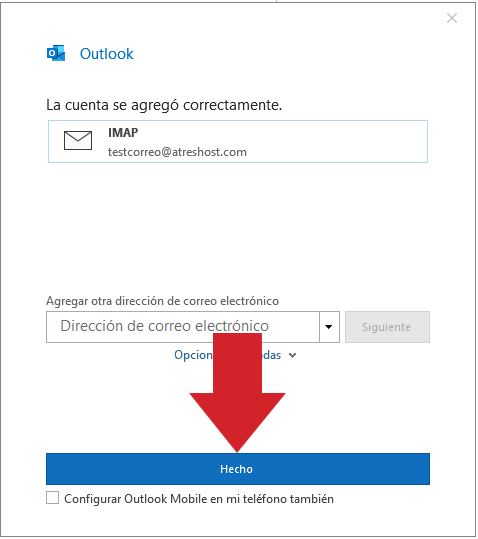
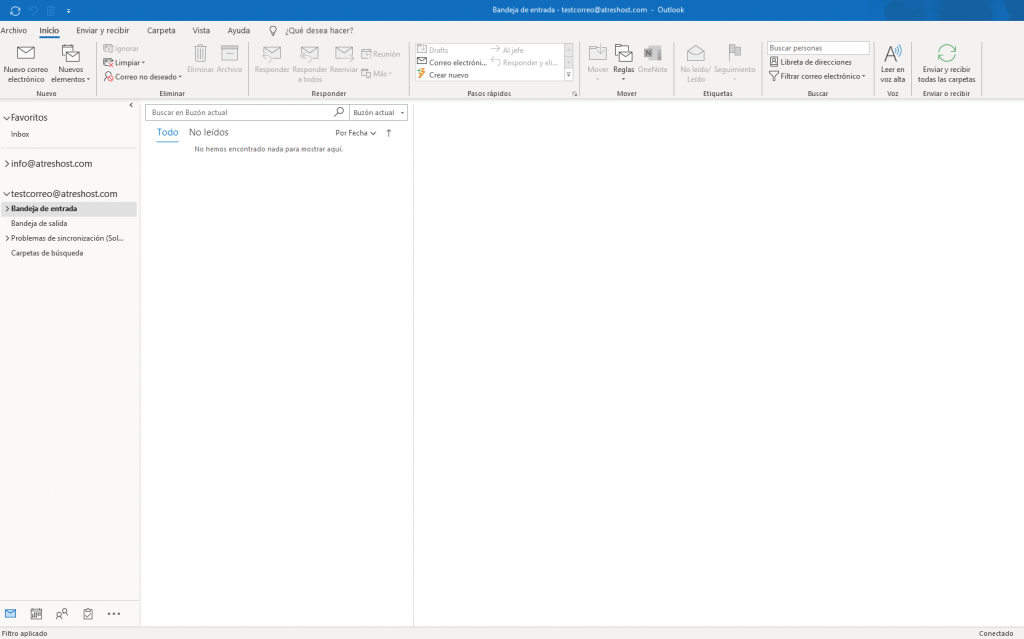
You already have your email setup in Microsoft Outlook.
Additional steps
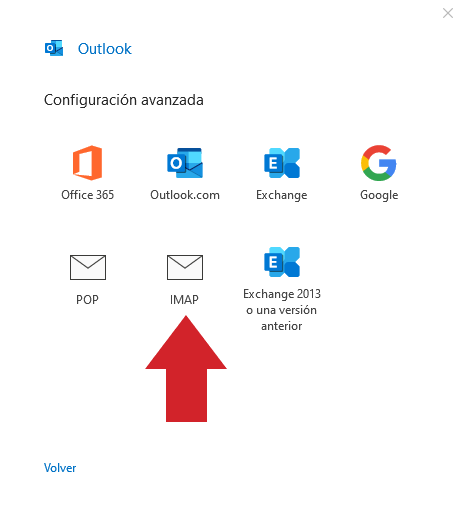
Usually, the configuration is done automatically, but it may happen that after entering the email and clicking on “Connect”, you will be shown a screen to configure the account manually. If this happens to you, please follow the steps below:
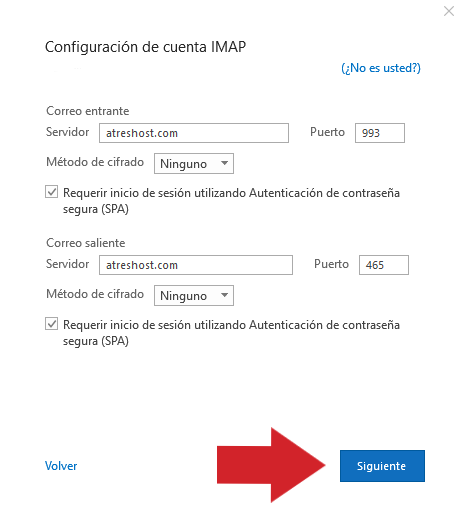
Select the “IMAP” setting.
Enter your domain incoming and outgoing mail server data.
- Incoming mail port: 993
- Outgoing mail port: 465
- Encryption method incoming & outgoing mail: SSL/TLS
Select “Require login using Secure Password Authentication (SPA)” and click “Next”.
Note: The configuration data is available in cPanel > Email accounts > Connect devices.
Once the 2 additional steps have been taken, go back to the general guide: enter the email password, accept the security certificate and click on “Done”.
If for any reason the connection is not made, close the window and start the process again to complete it successfully.