

Today, setup the Cloudflare CDN service is a quick and easy process, but when creating subdomains of our main domain, we may be surprised to find that they do not work.
How to enable Cloudflare for a subdomains?
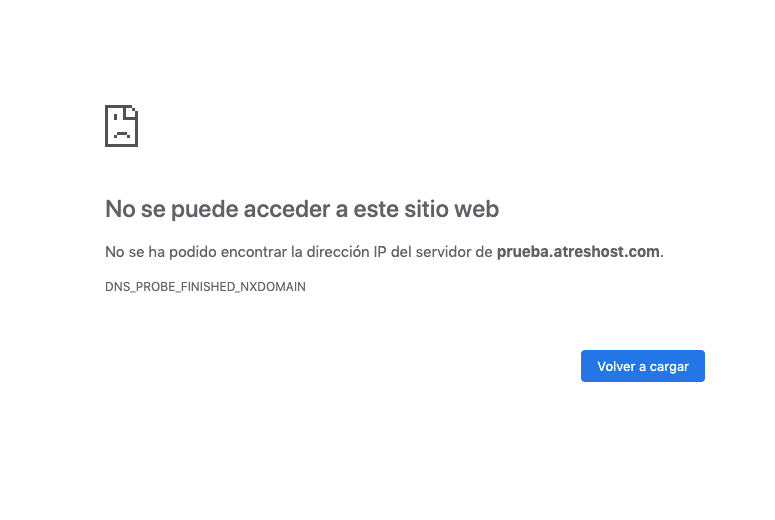
When using subdomains together with Cloudflare, we found that they are not automatically configured and therefore do not work.
When creating a new subdomain from our control panel, we must tell Cloudflare that we have added a subdomain to our main domain and the IP address it should point to. If we do not perform this step beforehand, when we try to access the subdomain, the DNS servers will not know where to point to and we will have as a result that subdomain it is inaccessible.
Subdomain configuration in Cloudflare
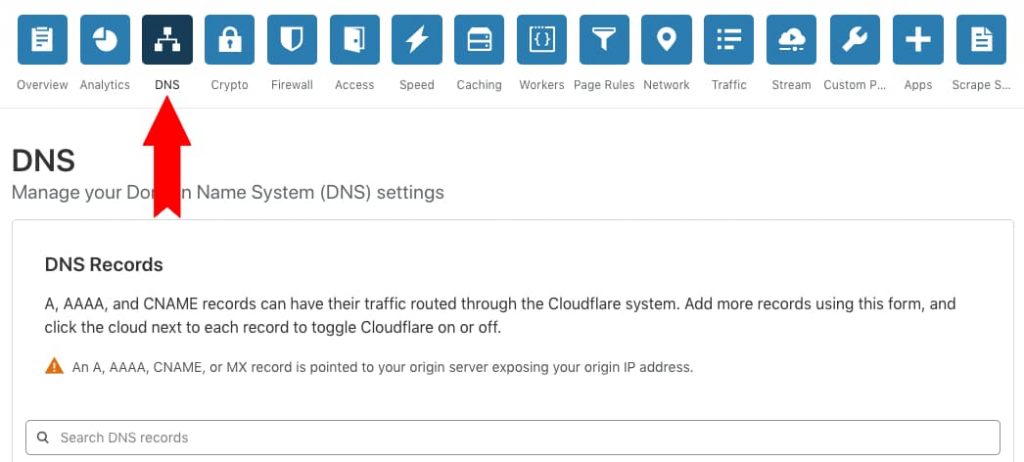
The first thing we need to do is access our account at Cloudflare. Once logged in, we have to enter the “DNS” option.
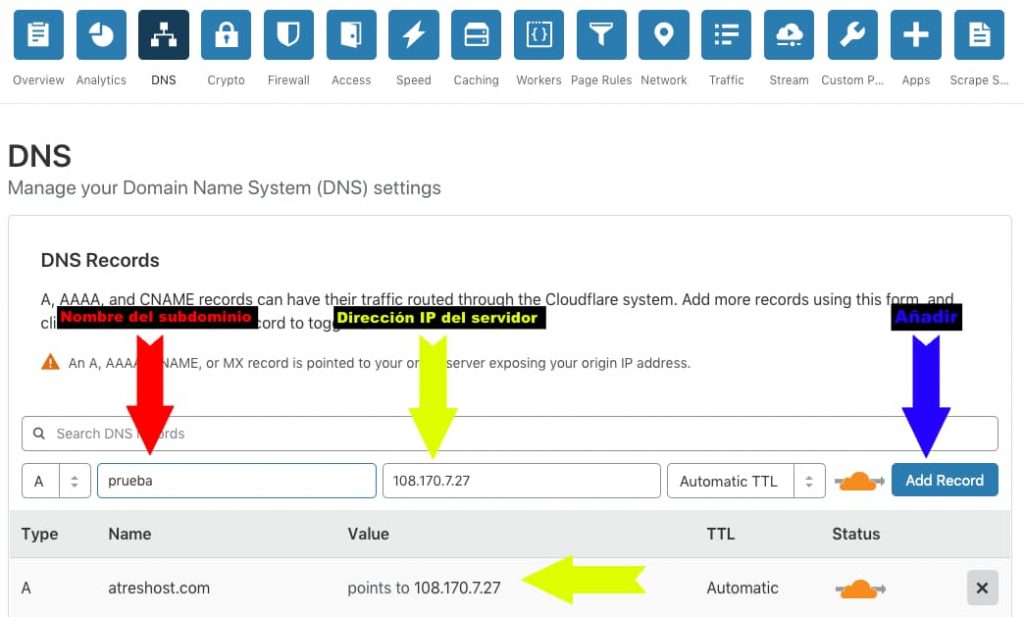
Una vez estemos en la opción DNS, debemos crear una nueva entrada de tipo A, incluir el nombre del subdominio (sin la parte del dominio principal) y añadir la dirección IP de nuestro servidor. La configuración TTL se puede dejar en automático.
Once we are in the DNS option, we must create a new type A entry, include the name of the subdomain (without the main domain part) and add the IP address of our server. The TTL configuration can be left in automatic.
Once we have the configuration ready, click on “Add Record”.
That is the configuration that we must make. After a few minutes, the subdomain will be up and running.