

cPanel is a Linux based control panel for managing hosting accounts that provides management tools in one place.
In our Hosting and Reseller plans, you can easily set the version of PHP you want to work with. This PHP version is assigned to the whole account, so if you are going to have several projects running on the same cPanel, all of them must be compatible with the PHP version set in your account, otherwise they may not work properly.
The problem is that you may need to set up different versions of PHP for technical requirements of each project, having (for example) a project in a subdomain that needs PHP 5.6, but when you set up the account in a different version of PHP than 5.6, it may stop working or have errors.
Configure different versions of PHP with .htaccess
In AtresHost we offer you the possibility to configure a specific version of PHP in each additional domain and subdomain through an .htaccess file, regardless of the PHP version you have configured in “Select PHP Version”.
Method 1: With an .htaccess file already created
To change the PHP version of an additional domain or subdomain through an already created .htaccess file, access your cPanel and from the “Files” module, click on “File Manager”.

Once you are in the “File Manager”, navigate to the directory associated with the additional domain or subdomain for which you want to set up a version of PHP and click on “Settings” (top right).

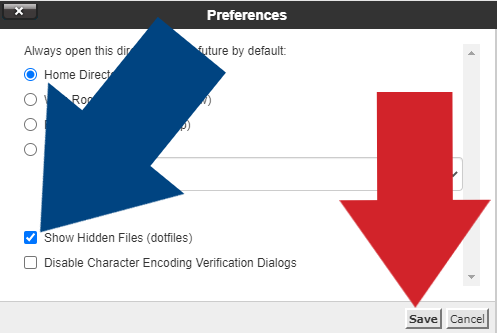
In the new popup window that opens, check the box “Show hidden files (dotfiles)” and click “Save”.
Once the step of showing the hidden files is done, different files will appear, among them, the .htaccess file. Select the .htaccess file and click on “Edit” (from the top menu).
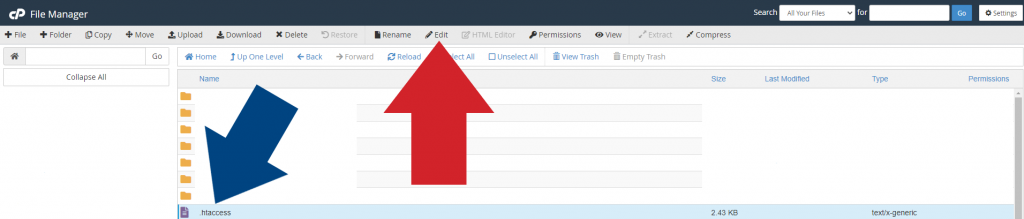
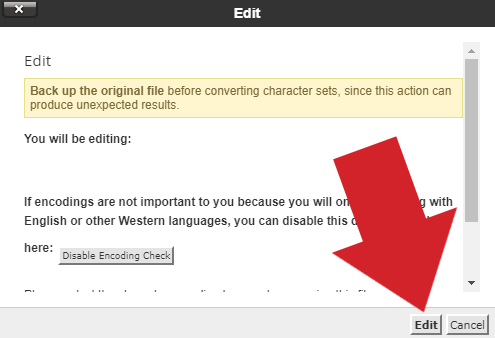
A new popup window will open. Click on “Edit” to proceed with editing the .htaccess file.
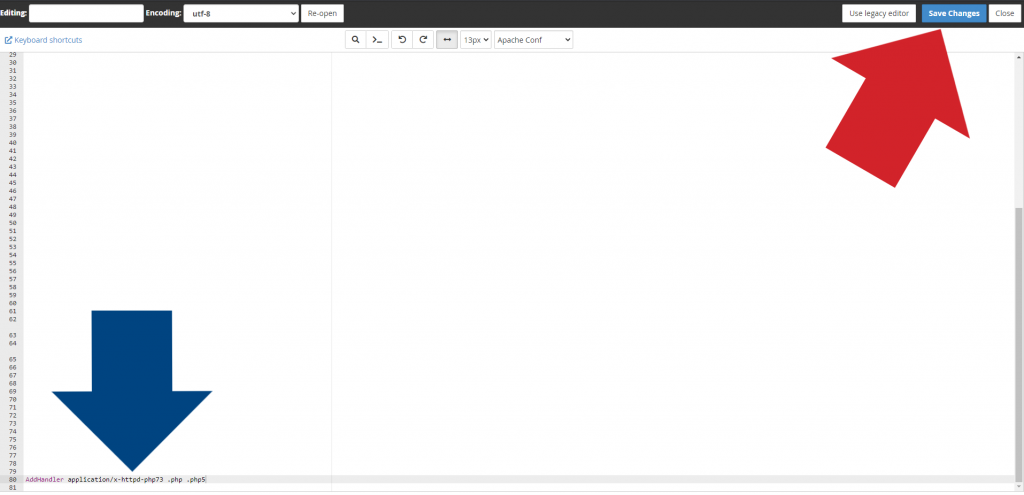
Another popup window will open with the contents of the .htaccess file. To modify the PHP version, just add one of the following lines of code at the end of the file (the line of code to be added will depend on the PHP version you want to configure):
For PHP 5.6:
AddHandler application/x-httpd-php56 .php .php5
For PHP7.0:
AddHandler application/x-httpd-php70 .php .php5
For PHP 7.1:
AddHandler application/x-httpd-php71 .php .php5
For PHP 7.2:
AddHandler application/x-httpd-php72 .php .php5
For PHP 7.3:
AddHandler application/x-httpd-php73 .php .php5
For PHP 7.4:
<IfModule mime_module>
AddHandler application/x-httpd-ea-php74 .php .php7 .phtml
</IfModule>
For PHP 8.0:
<IfModule mime_module>
AddHandler application/x-httpd-ea-php80 .php .php8 .phtml
</IfModule>
For PHP 8.1:
<IfModule mime_module>
AddHandler application/x-httpd-ea-php81 .php .php8 .phtml
</IfModule>
For example, to configure PHP version 7.3, you should enter the following code at the end of the .htaccess file and click “Save changes”:AddHandler application/x-httpd-php73 .php .php5
Method 2: Creating an .htaccess file
If after performing the “Show hidden files (dotfiles)” step the .htaccess file does not appear, it means that it does not exist and you will have to create it in order to add the code that will establish the version of PHP you want.
In the “File Manager” click on “+ File” to create the .htaccess.
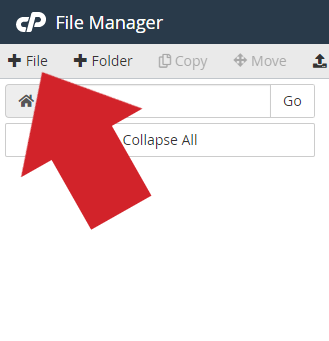
A popup window will open asking for the file name. In “New File Name” type .htaccess and click “Create New File”.

You have already created the .htaccess file, so you can proceed to configure the PHP version. Select the .htaccess file you just created and click “Edit” (from the top menu).
A new popup window will open. Click on “Edit” to proceed with editing the .htaccess file.
Another popup window will open with the contents of the .htaccess file. To modify the PHP version, just add one of the following lines of code depending on the PHP version you want to configure:
For PHP 5.6:
AddHandler application/x-httpd-php56 .php .php5
For PHP7.0:
AddHandler application/x-httpd-php70 .php .php5
For PHP 7.1:
AddHandler application/x-httpd-php71 .php .php5
For PHP 7.2:
AddHandler application/x-httpd-php72 .php .php5
For PHP 7.3:
AddHandler application/x-httpd-php73 .php .php5
For PHP 7.4:
AddHandler application/x-httpd-php74 .php .php5
For example, to configure PHP version 7.3, you should enter the following code at the end of the .htaccess file and click “Save changes”:AddHandler application/x-httpd-php73 .php .php5
Check that the version of PHP has been set correctly
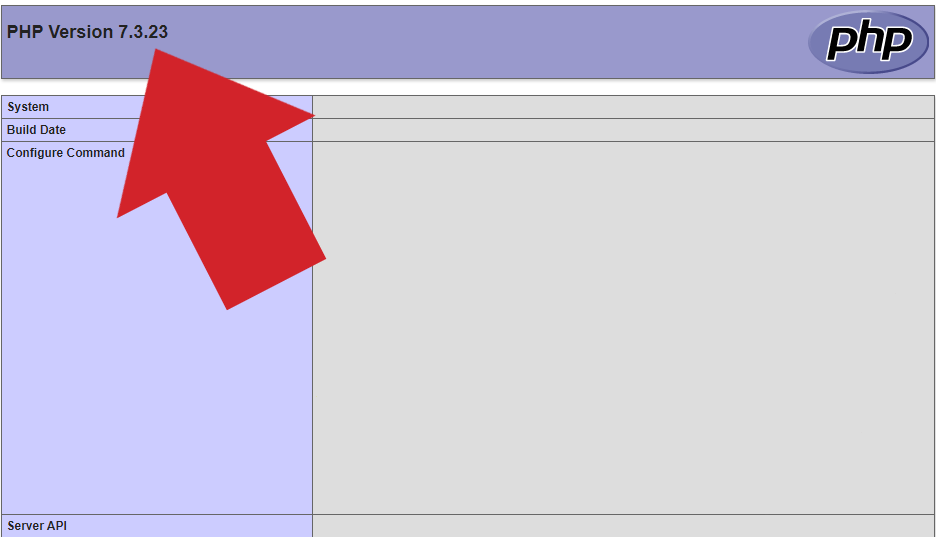
To check that the PHP version has been set correctly, you simply have to create or upload a file “info.php” to the root directory of the additional domain or subdomain to which you have set the PHP version.
The “info.php” file must contain the following code:

Finally, access the URL where the file “info.php” is located (for example: subdomain.domain.com/info.php) to verify that the change has been made correctly.