

In this tutorial, you will learn How to Configure Domain Redirects in cPanel.
What are domain redirects?
Domain redirects are techniques that are used to send visitors from one domain to another domain or destination URL. This means that when someone accesses a specific domain, instead of seeing the content of that domain, they are automatically redirected to another domain or URL.
Domain redirects are useful in a number of situations, including:
- Domain change: When you change your website domain, you can set up a redirect to ensure that visitors accessing the old domain are redirected to the new domain. This ensures that users are not lost and that traffic and search engine rankings are redirected correctly.
- Domain consolidation: If you have several related domains and want to direct all traffic to a single domain, you can set up redirects to redirect all secondary domains to the primary domain. This helps to concentrate traffic and improve the visibility of your website.
- Typo correction: If someone makes a mistake when typing your website URL, you can set up redirects to automatically correct those mistakes and direct users to the correct URL. For example, if someone types “yourdomains.com” instead of “yourdomain.com”, the redirect can correct the error and send the user to the correct website.
- Changing URL structure: If you change the URL structure of your website, you can set up redirects to ensure that old links are still valid and redirect correctly to the new locations. This helps to maintain consistency and avoid broken links.
In summary, domain redirects are important tools for directing traffic from one domain to another and ensuring smooth navigation for users. They can help in situations of domain change, domain consolidation, error correction and changes in URL structure.
How to Configure Domain Redirects in cPanel
Follow the steps below to configure redirects in cPanel.
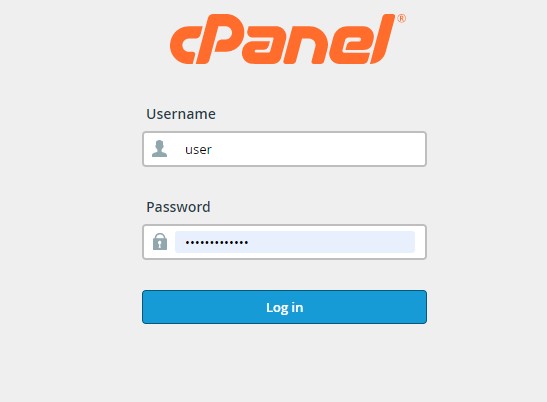
Step 1: Login to cPanel
Open your web browser and enter your cPanel URL or log in to cPanel directly from the AtresHost customer area.
Enter your cPanel username and password and click “Login” to access the control panel.
Step 1: Login to cPanel
Open your web browser and enter your cPanel URL or log in to cPanel directly from the AtresHost customer area.
Enter your cPanel username and password and click “Login” to access the control panel.
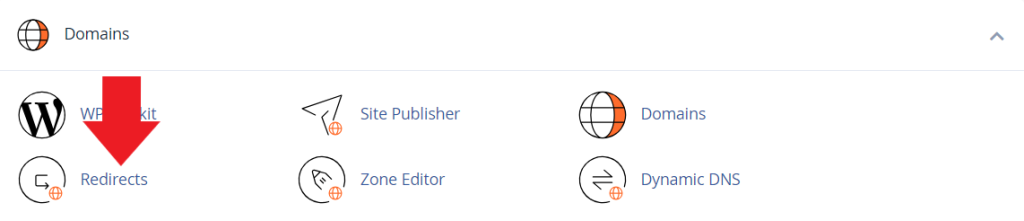
Step 2: Navigate to the “Domains” section in cPanel
Once you are logged into cPanel, find the “Domains” section and click on the “Redirects” icon to access the redirection settings page.
Step 3: Configure a domain redirection
On the “Redirects” page you will see different configuration options.
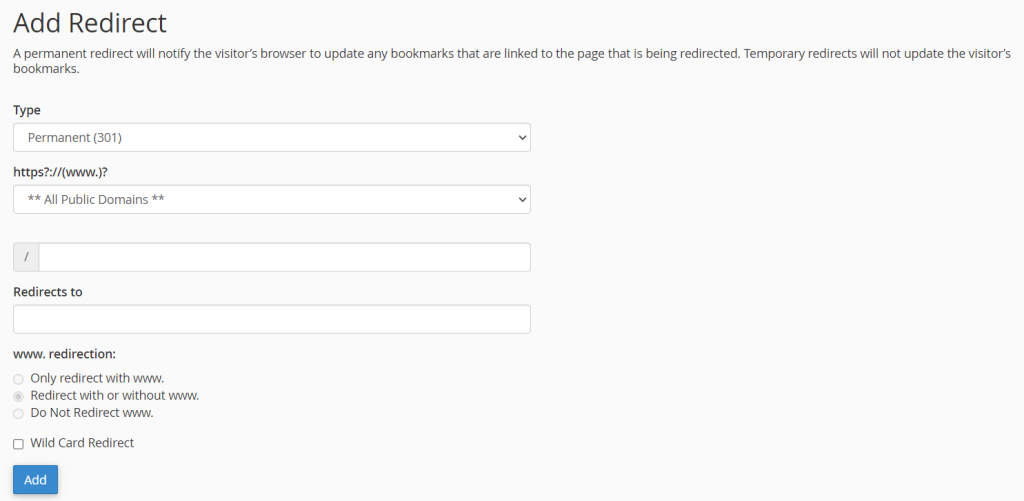
To add a redirect, select the type of redirect you wish to use and complete the “Add Redirect” fields.
Type of redirects:
- Permanent (301): A permanent redirect (301) is a type of HTTP redirect that indicates to browsers and search engines that the original location of a page has been permanently moved to a new address, redirecting URLs permanently from the old domain to the new domain.
- Temporary (302): A temporary redirect (302) is a type of HTTP redirect that indicates to browsers and search engines that the original location of a page has been temporarily moved to a new address and is used to temporarily redirect URLs.

In the “http://(www.)?” field, select the domain to which you want to apply the redirection.
Type of domain redirects:
- All public domains: Indicates that the redirection will be made to all domains in the cPanel account.
- mydomain.com: Indicates that the redirection will be made exclusively to the selected domain.

In the “Redirects to” field, enter the destination URL to which you want to redirect the domain.

NOTE: remember to enter the protocol “http://” or “https://” next to the full domain address.
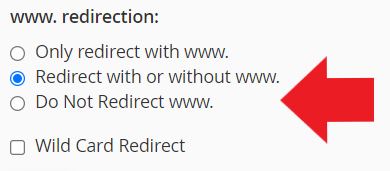
Optionally, you can select the “www.” option if you want to redirect also the “www” subdomain (e.g. from “yourdomain.com” to “www.yourdomain2.com”) as well as indicate if you want to perform a “Wild Card Redirect”.
What is wild card redirect?
A “wild card redirect” in cPanel refers to a setting that allows you to redirect any subdomain that is not explicitly configured to a specific location. This means that any subdomain that does not have an individual redirect setting will be automatically redirected to the same default destination.
Finally, click on the “Add” button to create the domain redirect.

Once the redirection has been added, it will be available in the “Current Redirects” section.

Step 4: Verify and check redirects
After adding the redirects, it is important to verify that they work correctly.
Open a web browser and visit the domain or URL you have configured for redirection, the page should automatically redirect to the destination URL. Also verify that the redirect maintains the correct structure of the URLs and does not cause problems accessing the website.
Conclusion
In this tutorial you have learned How to Configure Domain Redirects in cPanel.
Remember that redirects are useful tools for maintaining the accessibility and correct structure of a website, even when we make changes to the location of pages or domains. Experiment with different configurations and be sure to test the redirects to ensure they work correctly.
We help you
If you have any questions or suggestions, feel free to leave us a comment in the comments section! And don’t forget to visit our BLOG, every week we publish new tutorials and guides.