


In this tutorial, you will learn How to schedule cron jobs in cPanel.
What are Cron Jobs?
Cron jobs are a function or feature found in Unix-like operating systems, such as Linux, macOS and other similar systems. “Cron” is the name of the program that is responsible for running these scheduled jobs at regular intervals or at specific times.
Cron jobs are defined by configuration files known as “cron tables” or “crontabs”. These files contain instructions that tell the system which commands or scripts to run and when to run them.
EXAMPLE CRON JOB:
30 2 * * * my_cronThe asterisks represent values for minutes, hours, days of the month, months and days of the week, respectively. By assigning specific values or ranges to these fields, tasks can be scheduled to run at particular times. The example above would execute the command “my_cron” every day at 2:30 a.m.
Cron jobs are useful for automating recurring jobs. They can be used to perform scheduled jobs for your WordPress, script execution, or any other job that you need to run on a specific schedule.
How to schedule cron jobs in cPanel
Follow the steps below to schedule Cron Jobs in cPanel.
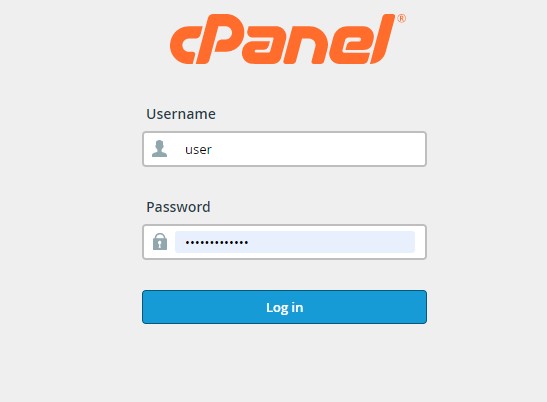
Step 1: Login to cPanel
Open your web browser and enter your cPanel URL or log in to cPanel directly from the AtresHost customer area.
Enter your cPanel username and password and click “Login” to access the control panel.
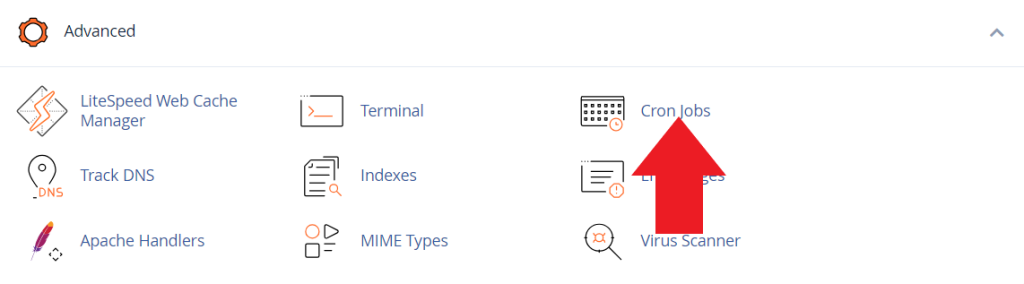
Step 2: Navigate to the “Advanced” section in cPanel
Once you are logged into cPanel, find the “Advanced” section and click on the “Cron Jobs” icon to access the cron jobs configuration page.
Step 3: Set up a new cron job
On the cron job configuration page, you will see a list of existing cron jobs (if any) and a form to add a new cron job.
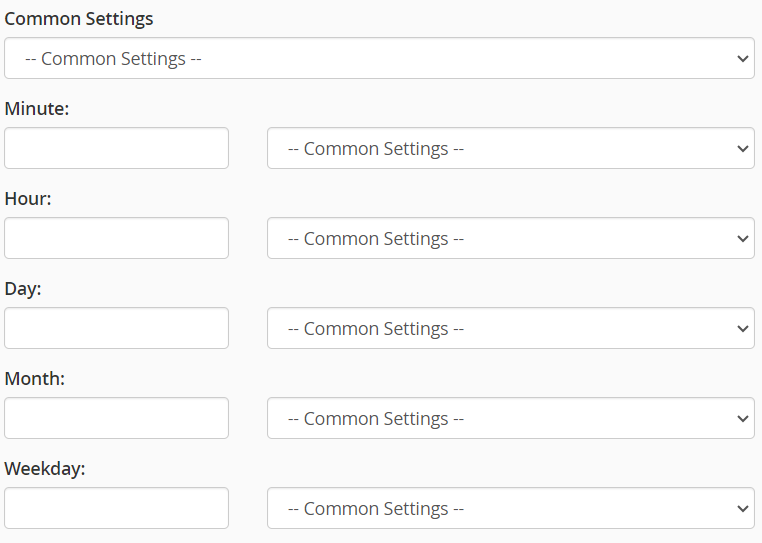
You can fill in the fields manually or select a predefined configuration by pulling down the menu in the “Common Settings” field. In this case, we are going to use the predefined option “Once Per Day” so that the cron job is executed once a day.
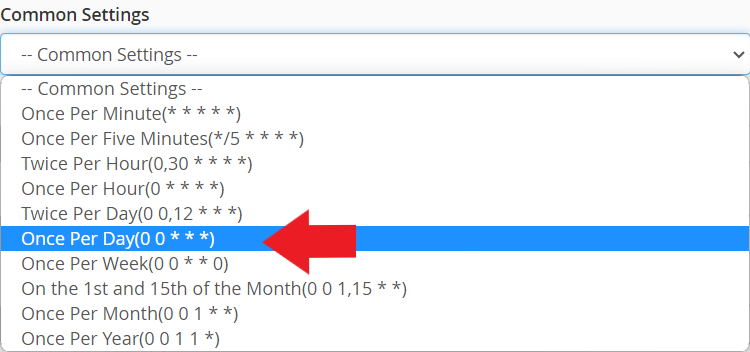
Once the “Once per day” option is selected, the form fields of the new cron job will be filled in automatically.
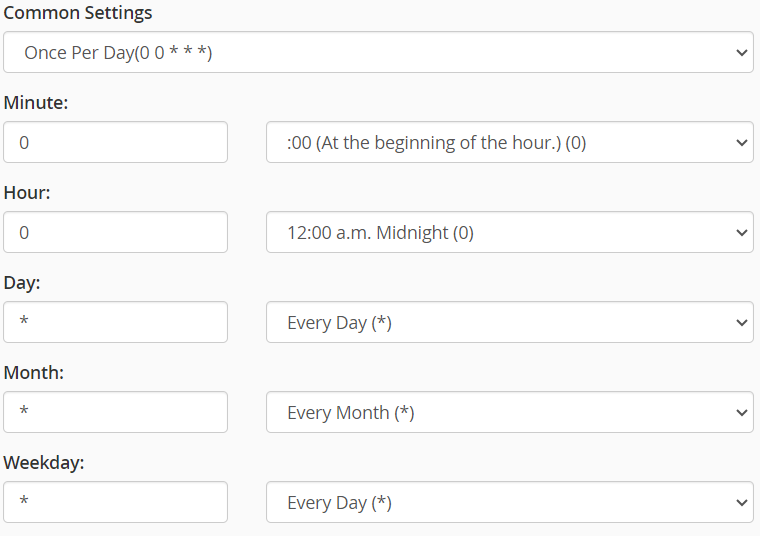
If you want to complete the form manually, the fields to fill in are the following:
- Minute: Specify the minute you want the cron job to run (0-59).
- Hour: Specify the hour you want the cron job to run (0-23).
- Day of the month: Specify the day of the month you want the cron job to run (1-31).
- Month: Specify the month you want the cron job to run (1-12).
- Day of the week: Specify the day of the week you want the cron job to run (0-7, where 0 and 7 represent Sunday).
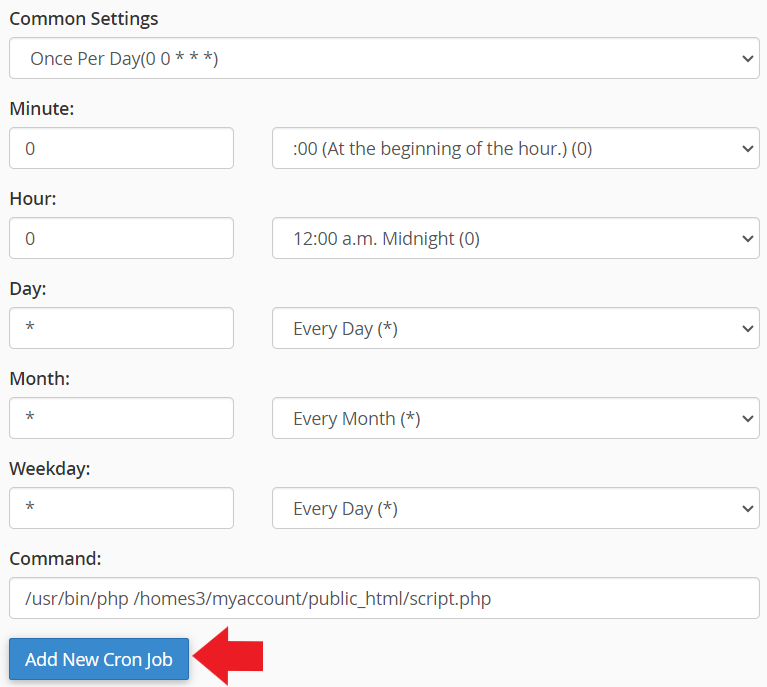
Step 4: Specify the command
In the “Command” field, enter the command you want to run as part of the cron job. Be sure to indicate the full path to the executable file or script you wish to run. For example, if you want to run a PHP file named “script.php” located in the “/home/user/public_html/” folder, the command would be something like:
/usr/bin/php /home/user/public_html/script.phpAs the path to our account is /homes3/myaccount/public_html/, we will enter the following command:
/usr/bin/php /homes3/myaccount/public_html/script.php
The path to your account is available under the “Add New Cron Job” heading, just above the “Common Settings” section.

Step 5: Configure additional options (optional)
Depending on your needs, you can configure some additional options for the cron job. For example, you can choose to receive an email notification each time the cron job runs by selecting the corresponding option and providing an email address in the “Cron Email” section.
Enter your email address in the “Email” field and click “Update email”.
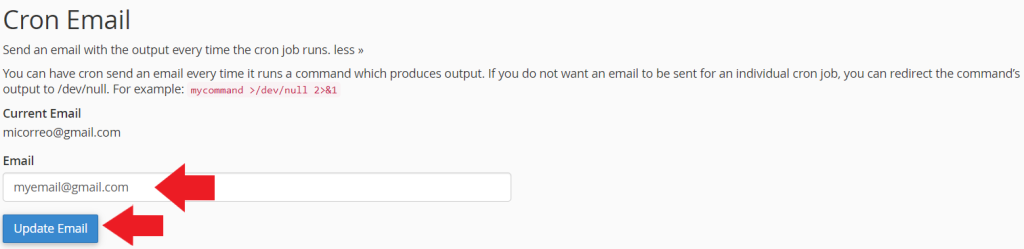
NOTE: If you do not want an email to be sent for an individual cron job, you can redirect the command output to /dev/null as follows:
/usr/bin/php /homes3/myaccount/public_html/script.php >/dev/null 2>&1Step 6: Save the cron job
Once you have completed the required fields of the cron job, click the “Add New Cron Job” button to save the cron job.
The cron job will be added to the list of existing cron jobs and will be executed according to the specified schedule.

Conclusion
In this tutorial you have learned How to schedule cron jobs in cPanel.
The cron job will now run automatically according to the schedule you have set. If you need to modify or delete an existing cron job, you can do so from the same cron job configuration page in cPanel.
Remember to use caution when using cron jobs effectively.
We help you
If you have any questions or suggestions, feel free to leave us a comment in the comments section! And don’t forget to visit our BLOG, every week we publish new tutorials and guides.