


Today we’re going to teach you How to connect to a MySQL database with HeidiSQL remotely with this simple step by step tutorial.
Tutorial: How to connect to a MySQL database with HeidiSQL
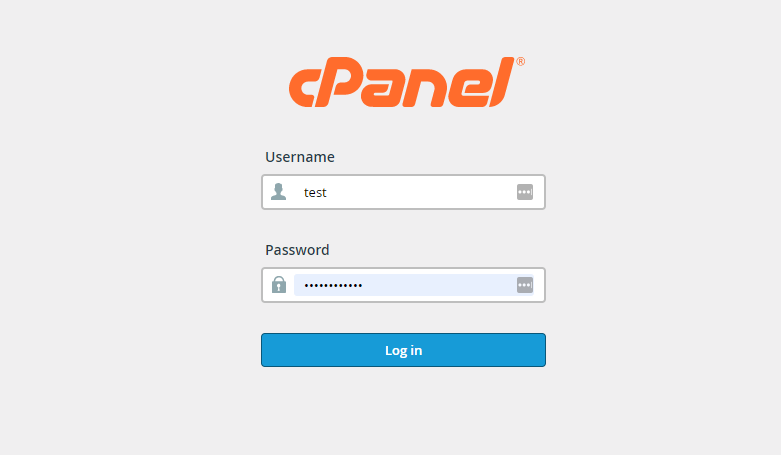
The first step you need to take is to access your cPanel and log in.
Once you have logged into cPanel, navigate to the “DATABASES” module and click on “REMOTE MYSQL”.

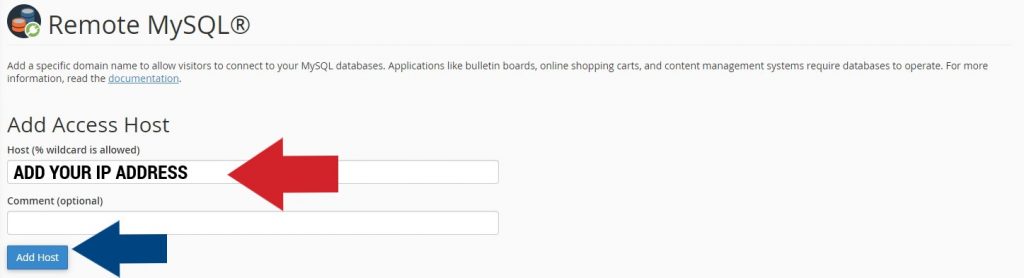
In “REMOTE MYSQL” you must add your IP address in order to make the remote connection to the MySQL database. To do this, add your IP address in the section “HOST (% wildcard is allowed)” and click on “ADD HOST”.
A message will appear confirming that the IP address has been added successfully. Click “GO BACK” to verify that the IP address was added correctly.

The last step in cPanel is to confirm that the IP address you have added appears in the “MANAGE ACCESS HOSTS” section (within “Remote MySQL”).

The next step is to download the “HeidiSQL” program to make the remote connection to the MySQL database. Access the HEIDISQL OFFICIAL PAGE LINK BY CLICKING HERE, download the installer and run the program installation on your computer.
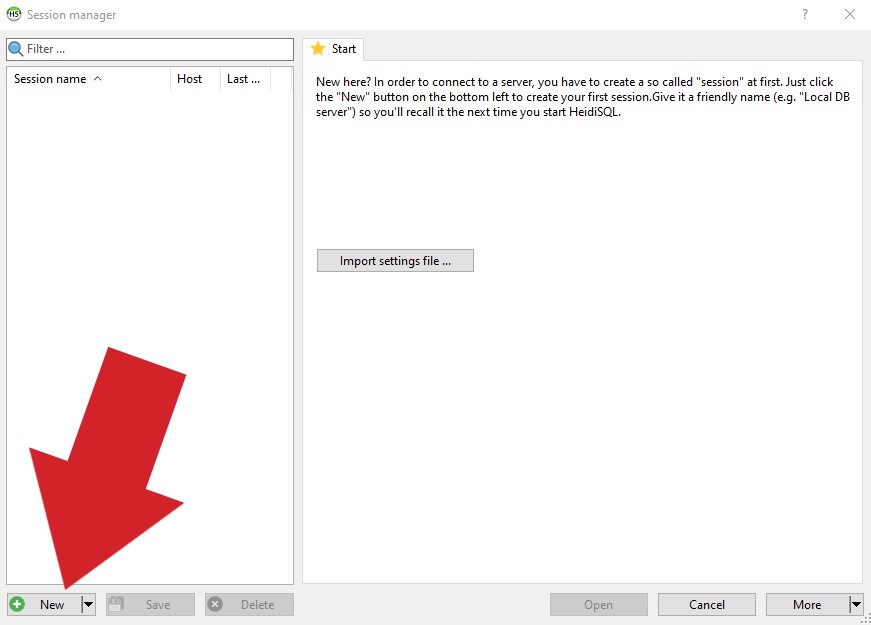
Once you have “HeidiSQL” installed on your computer, open the program and click “+ NEW”.
Now it’s time to configure the remote connection to the MySQL database.
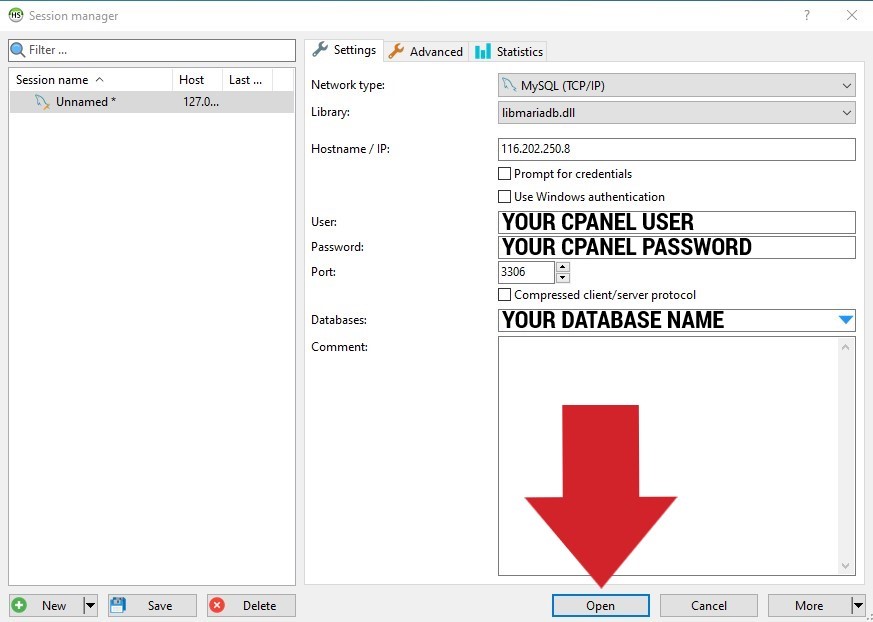
FILL IN THE FIELDS AS INDICATED BELOW:
- Network type: MySQL (TCP/IP)
- Library: libmariadb.dll
- Hostname / IP: 116.202.250.8
- User: Your cPanel user
- Password: Your cPanel password
- Port: 3306
- Databases: Your database name
Once you have completed the fields, click on “OPEN”.
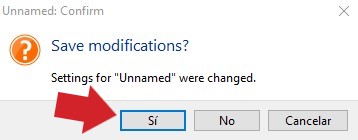
Finally, it saves the modifications made.
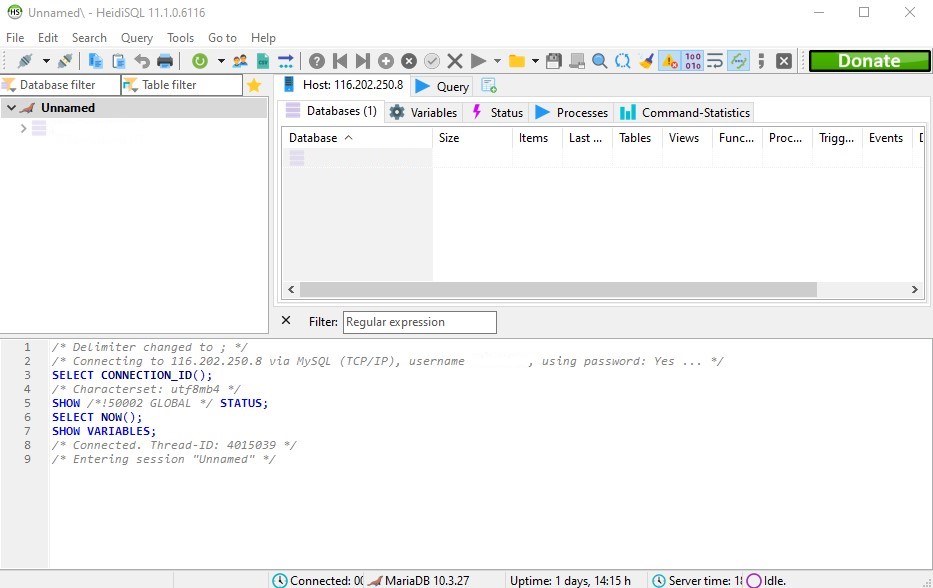
If you have followed the configuration shown in the tutorial, the remote connection to the MySQL database will be successful as shown in the image below.