


In this tutorial, you will learn How to create email accounts in cPanel.
How to create email accounts in cPanel
Follow the steps below to start creating email accounts in cPanel.
Step 1: Login to cPanel
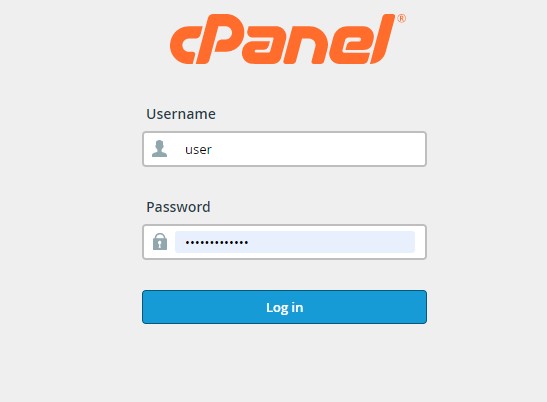
Open your web browser and enter your cPanel URL or log in to cPanel directly from the AtresHost customer area.
Enter your cPanel username and password and click “Login” to access the control panel.
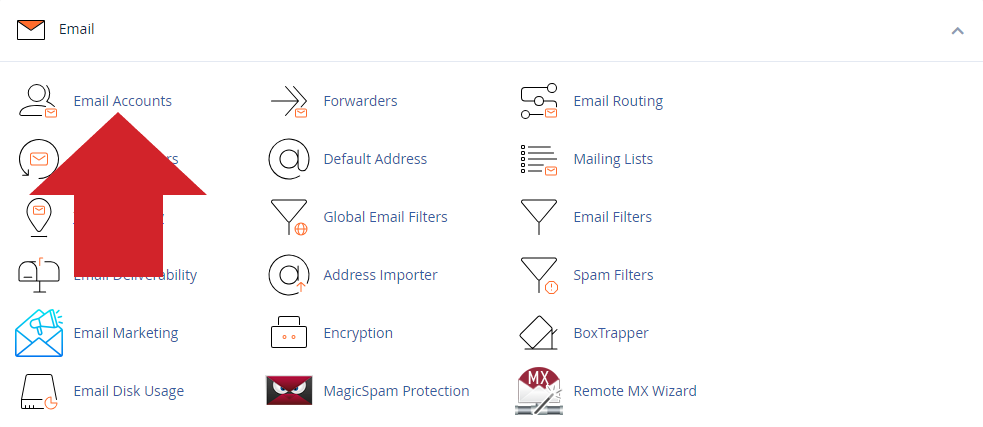
Step 2: Navigate to the “Email” cPanel section.
Once you are logged into cPanel, scroll down to the “Email” section and click on the “Email accounts” icon. A new page with the email configuration interface will open.
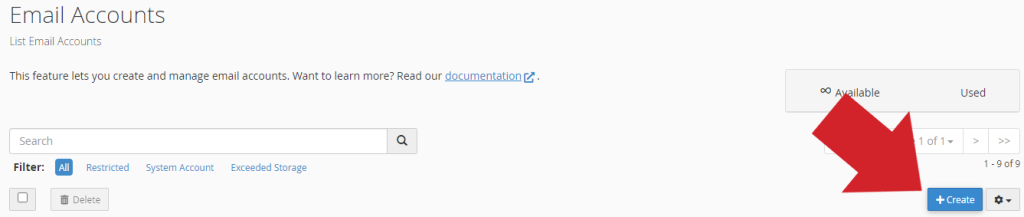
Step 3: Create a new email account
In the email configuration interface, click on the “Create” button to create a new email account.
If you have more than one domain / subdomain associated to your cPanel account, select from the “Domain” drop-down menu the domain associated to your email account that you want to use.
NOTE: If you have only one associated domain, the “Domain” section will not appear.

In the “Username” field, enter the name you want for the email account. For example, if you want to create the account “[email protected]”, enter “name” (the name you want for the email) in this field.

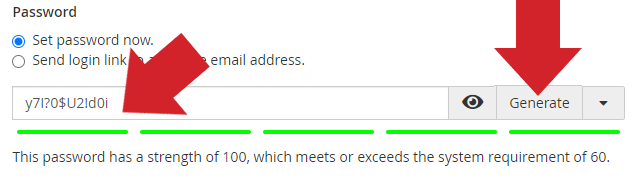
Enter a strong password in the “Password” field. You can use the cPanel password generator to create a secure password and then copy and save it to a safe place. To do this, just click “Generate”, the password field will automatically autocomplete with the generated password.
NOTE: Remember to generate alphanumeric passwords (uppercase, lowercase, numbers, special characters…) of at least 12 characters to increase the security of the email account. If the password is secure, the 5 bars will be colored green.
Step 4: Configure additional options (optional)
You can configure the space allocated to the e-mail account, as well as create address folders. To do this, click on “Edit Settings” (“Optional Settings” module).

Configure the space allocated to the email account by indicating in “Storage space” the disk space you want the email account to have. You can indicate the space in MB or GB by selecting the drop-down list. By default, mailboxes are created with 5GB of space (maximum space), set to “MB”.
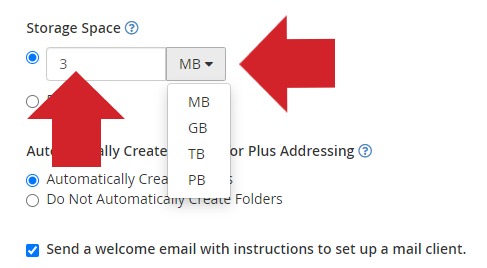
NOTE: The options “Automatically Create Folders for Plus Addressing” and “Send a welcome email with instructions for set up a mail client” are recommended to be left enabled as they are by default.
You will receive a welcome email in your new email account with instructions on how to set up the email account in email clients such as Outlook.
Step 5: Confirm the creation of the email account
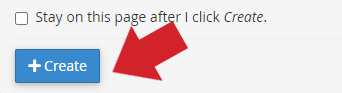
Once you have configured the options, click on “+ Create” to proceed to create the email account.
If the process is successful, you will be automatically redirected to the main page with all your emails listed and you will receive a confirmation message indicating that the email account has been successfully created.

Step 5: Log in to the email account
Once you have created the email account, you can access it using an email client such as Outlook or by accessing it through cPanel.
To access your email account with an email client such as Outlook, we recommend that you review our tutorial “How to configure Hosting and Reseller email accounts in Microsoft Outlook“.
To access through cPanel, go back to the cPanel home page and look for the “Email” section and click on “Email Accounts”.
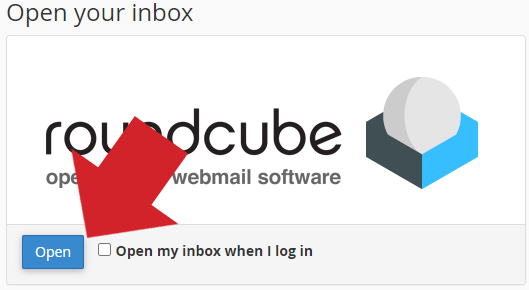
Click on “Check Email” (a new window will open).

Finally, click on “Open”.
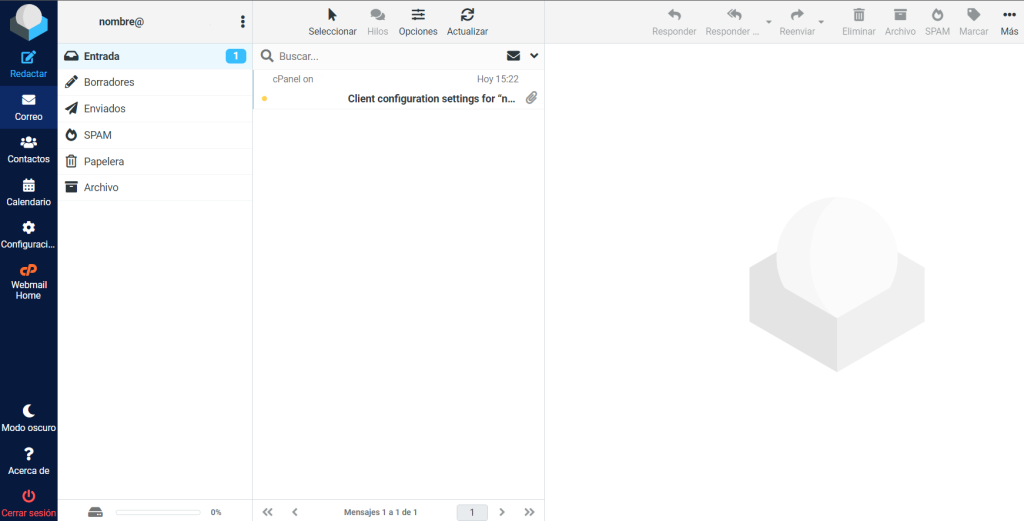
You are already in the webmail of your email account.
Conclusion
In this tutorial you have learned How to create email accounts in cPanel.
You can create multiple email accounts for your domain and customize additional options according to your needs. Remember that you can also use email clients such as Outlook or set up the email account on mobile devices to access your emails more conveniently.
We help you
If you have any questions or suggestions, feel free to leave us a comment in the comments section! And don’t forget to visit our BLOG, every week we publish new tutorials and guides.