

Today we are going to teach you How to restore cPanel accounts with Jetbackup 5 with this simple step by step tutorial.
Jetbackup 5: Account Restoration
The AtresHost cPanel has an application called “Jetbackup 5” in which you can restore the account to a previous point thanks to the weekly backup that is made from AtresHost.
Tutorial to restore a cPanel account
Log in to your cPanel account, navigate to the “FILES” module and click on the “Jetbackup 5” application.

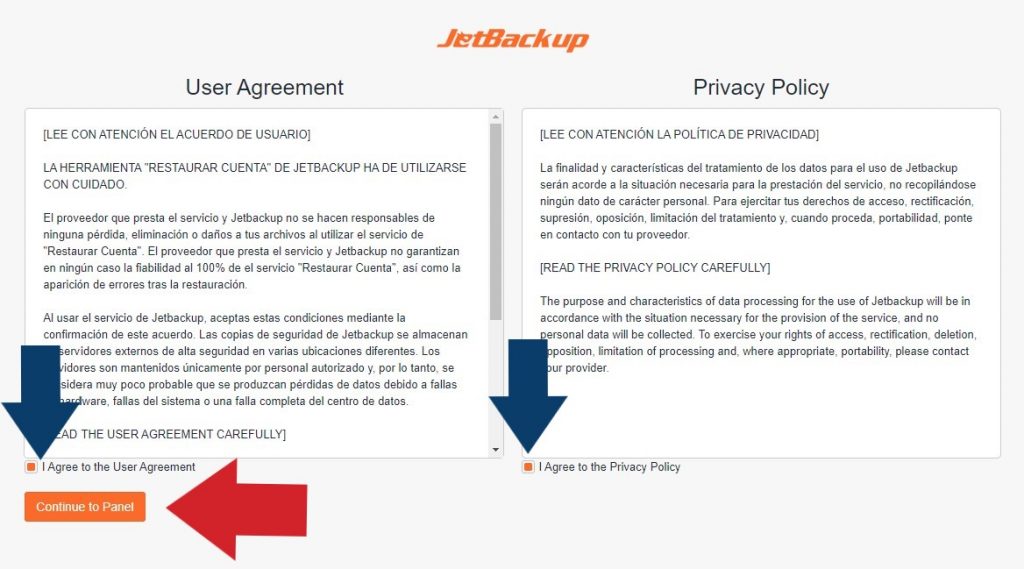
Within the “Jetbackup 5” application, accept the user agreement, the privacy policy and click on “CONTINUE TO PANEL”.
Select the third icon in the Jetbackup 5 menu (Restore & Download) and click “NEXT”.
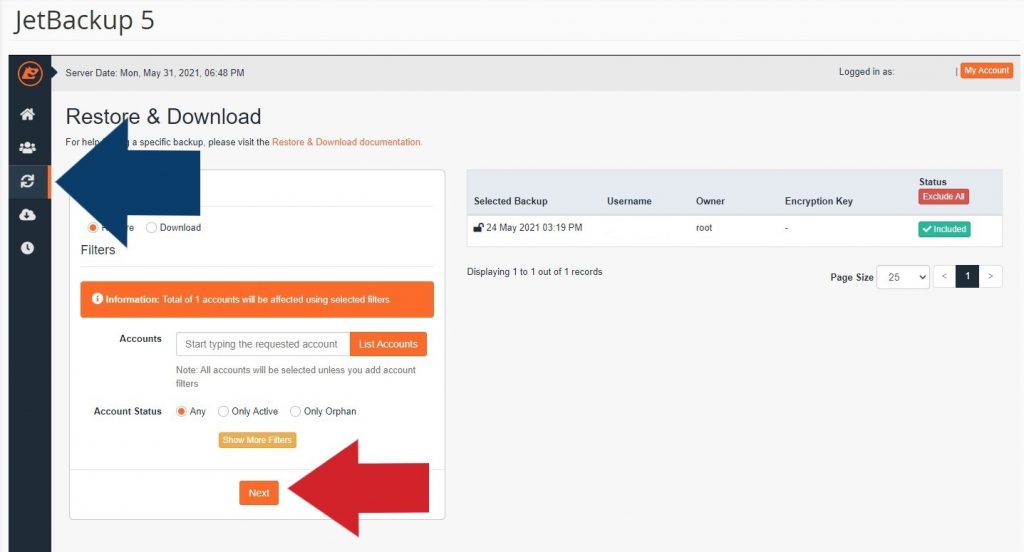
The next step is to select which items we want to restore. We recommend restoring the account completely to avoid errors. Select the check box to accept the restoration conditions and click on “RESTORE FILTERED ACCOUNTS”.

Confirm the restoration by clicking on “OK”.

Once the restoration process has started, a small warning will appear indicating “SUCCESS”.

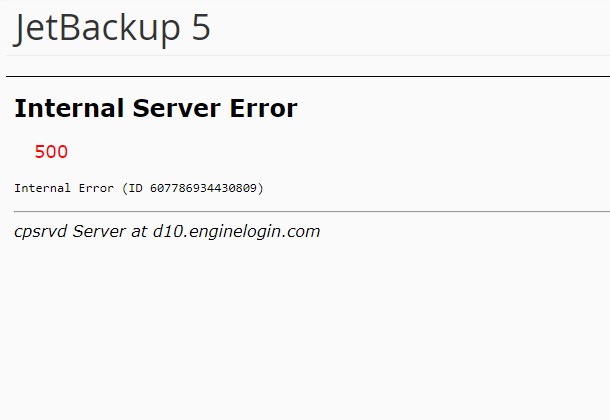
Finally, once the process is started, Jetbackup 5 / cPanel will show us an error 500 (Internal server error). The error is completely normal, Jetbackup 5 is finishing the restore and that implies overwriting your cPanel account files.
We must be patient with the restoration, depending on the size of the account, the process can take from a few minutes to an hour.
Optional step: Error 403
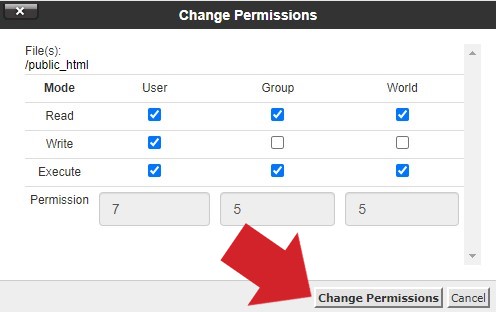
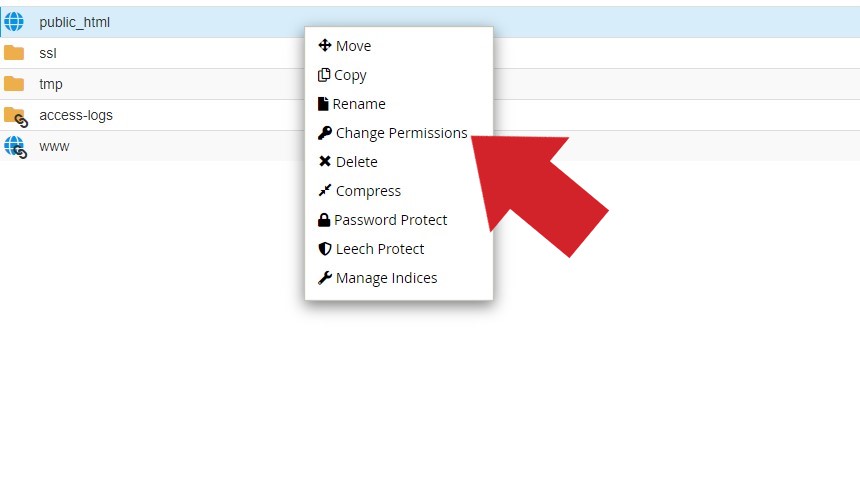
If after restoring an account from Jetbackup 5 we receive a 403 error when accessing our web site, we must update the permissions of the folder containing our web page.
To do this, access the “File Manager” from cPanel, select the “public_html” folder with the right mouse button (in our case the web is located inside public_html) and click on “CHANGE PERMISSIONS”.
Finally, set the permissions to 755 and click on “CHANGE PERMISSIONS” to fix the 403 error.