


In this tutorial we want to teach you how to renew the DNS cache (flush DNS) in Windows, Linux and MacOS operating systems.
Having an out of date DNS cache will show incorrect information or directly, an access error when you try to enter web pages, which can happen for multiple reasons, including recent DNS changes. Therefore, it’s important to know how to clear your DNS cache with flush DNS so you can easily fix this problem.
How to renew DNS (flush DNS) in Windows
First of all, we are going to renew the DNS (flush DNS) in computers with Windows operating systems. The following method will allow you to clear the DNS cache in Windows XP, Vista, 7, 8, 8.1 and 10.
Step 1: Start the Windows Command Prompt
Press the Windows + R key combination to open the Run dialog box. Type the command “cmd” (without the quotes) and click the OK button.
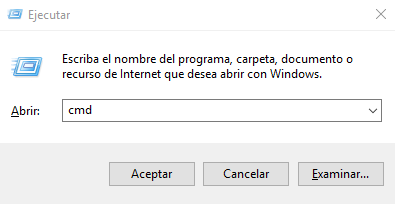
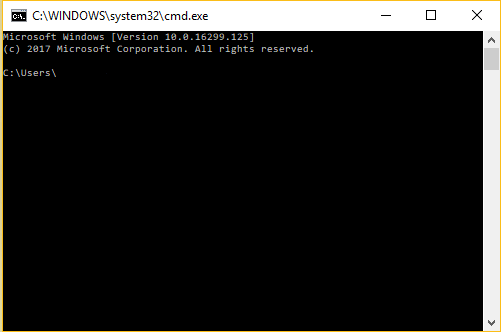
This will open a command prompt window.
Step 2: Renew the DNS (flush DNS)
Use the command ipconfig /flushdns to clear the DNS cache on your PC:
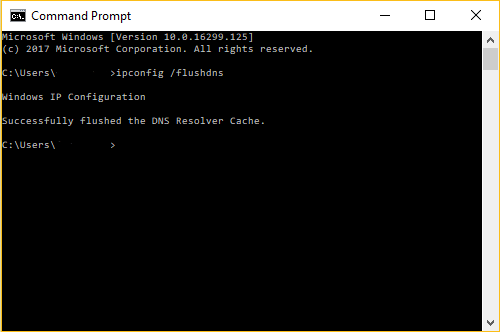
We already have the DNS resolution cache cleared.
BONUS: Renewing DNS on Linux and Mac
- To renew the DNS cache on Linux, open the terminal and type the following command: sudo service network-manager restart
- To renew the DNS cache of the Apple operating system (from Mac OS X The Captain onwards), go to Application > Utilities > Terminal and enter the following command: sudo killall -HUP mDNSResponder